How to Make Homemade Peanut Butter in Minutes
Making your own peanut butter is one of those simple, back-to-basics kitchen skills that can really make a difference. With this easy method, you end up with a creamy spread that tastes richer and fresher than anything you’ll find at the grocery store, at a fraction of the price. If you’ve never tried it before, don’t worry—this is truly an easy recipe. Once you make your first homemade batch, you may never go back to store-bought varieties again.
Why Make Your Own Peanut Butter?
Most jars of natural peanut butter at the store are perfectly fine, but many other varieties come with added sugars, preservatives, stabilizers, or extra oils. When you make your own peanut butter, you’re working with simple ingredients—just peanuts. And making your own peanut butter is much cheaper than buying natural peanut butter.
The best part? You get to control everything. You can make a smooth nut butter, a chunky peanut butter, or even experiment with flavored peanut butters. It’s one of those healthy recipes that feels like a treat.
Choosing Your Peanuts
The kind of peanuts you use will shape your final product. There’s a lot of flexibility here.
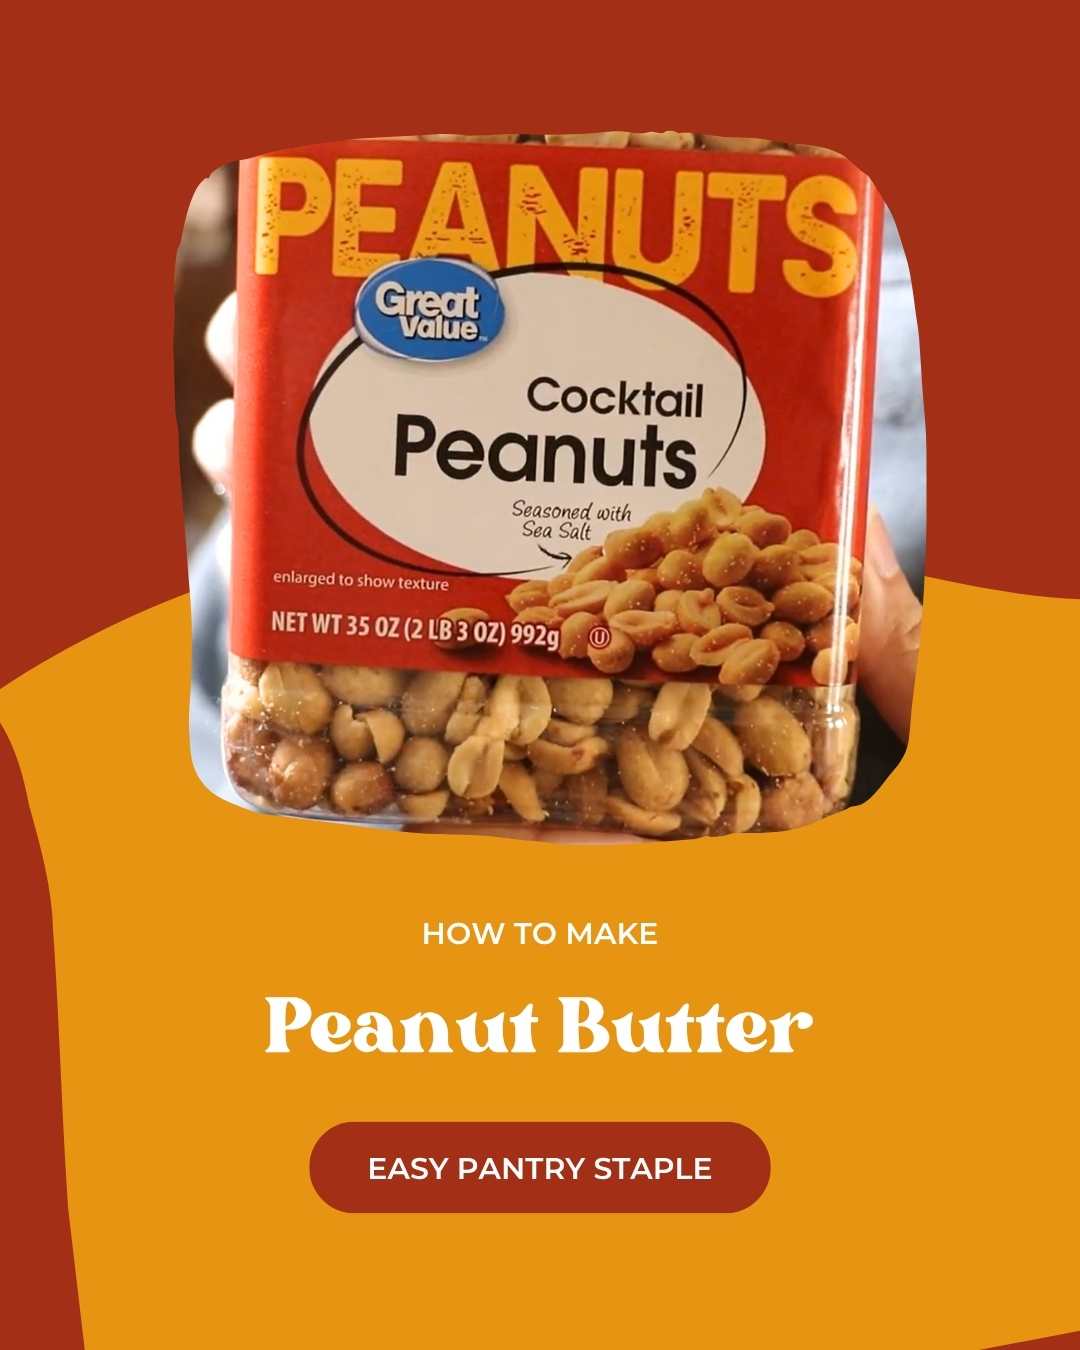
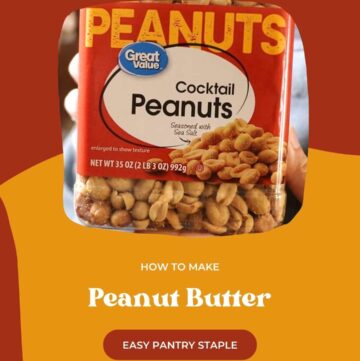
I like to use cocktail peanuts because they usually contain just peanuts, peanut oil, and a little salt. Dry-roasted peanuts often contain added ingredients.
You can also use:
- Unsalted peanuts (and add your own salt if desired)
- Dry-roasted peanuts
- Raw peanuts (you’ll want to roast them first on a rimmed baking sheet until golden brown)
- Honey-roasted peanuts (for a sweeter peanut butter)
How Many Peanuts Do You Need?
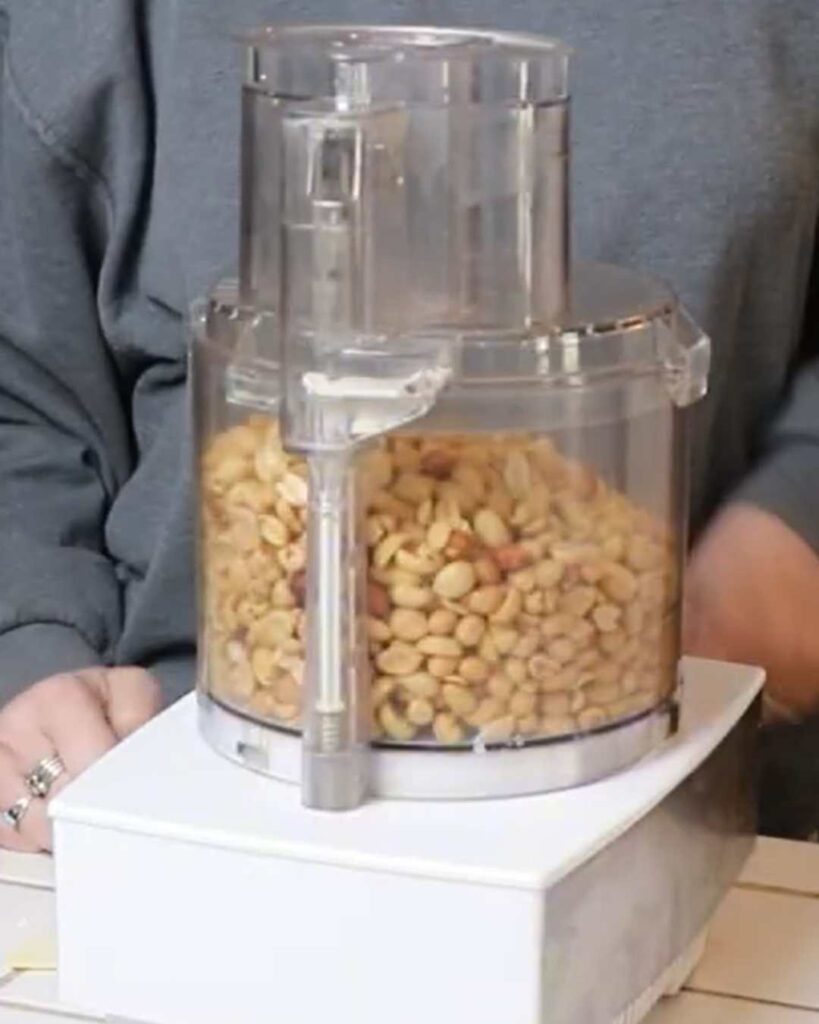
The amount of peanuts you use depends on the size of your food processor. You don’t want too few peanuts or too many. A smaller food processor may need 1 or 2 cups of peanuts to blend properly, while a larger one might handle more My large food processor can handle an entire 35oz container of peanuts (8.75 cups.)
The Simple Process
This homemade peanut butter recipe couldn’t be easier.
- Add your peanuts to the bowl of your food processor, fitted with the S blade.
- Close it, turn it on and let it run.
- Keep blending for several minutes.
That’s it.
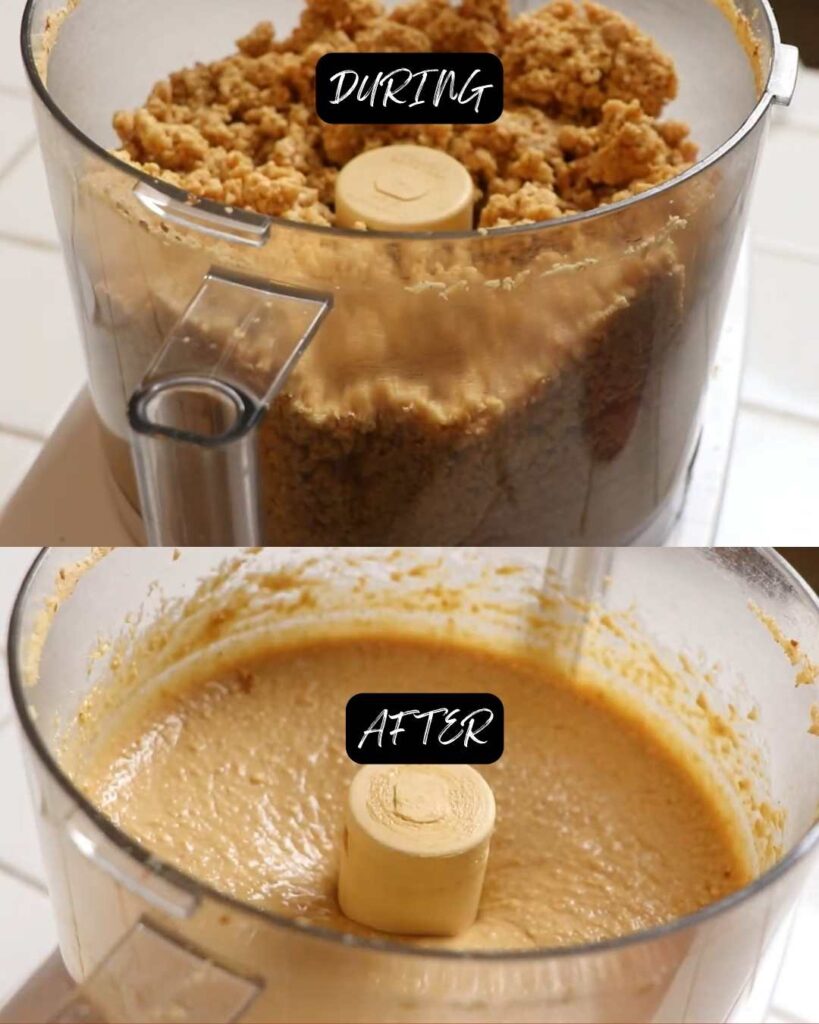
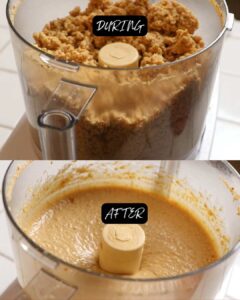
At first, the peanuts will be ground into small pieces, then a crumbly mixture. You may need to stop and scrape down the sides of the bowl a few times to keep everything moving. As the minutes pass, the peanuts will slowly transform from a dry, crumbly mixture, to a smooth, creamy paste.
Watching the Various Stages
Making homemade nut butter is a bit like watching a transformation unfold. It goes through several stages:
- Chopped peanuts – small pieces bouncing around
- Crumbly mixture – almost like sand
- Lumpy paste – starting to clump together
- Smooth butter – oils release and everything loosens
Eventually, the natural oils in the peanuts begin to release. This is when the mixture suddenly shifts into a creamy consistency. It’s always a little surprising, even if you’ve done it numerous times.
Getting the Texture Just Right
You can stop blending whenever it reaches your favorite way to eat it.
- For creamy peanut butter: blend until completely smooth
- For crunchy peanut butter: stir in some chopped peanuts at the end
If you want a truly smooth butter, just give it a little extra time.
Optional Add-Ins
This peanut butter tastes amazing as is, but you can customize it if you’d like.
For a sweeter peanut butter:
- Maple syrup
- Honey
- Brown sugar
- Coconut sugar
For flavor variations:
- A splash of vanilla extract
- A spoonful of cocoa powder
Just add a little bit at a time and blend again until smooth. Keep in mind that adding liquid sweeteners can slightly change the texture, so go slowly.
Storage and Shelf Life
Once your peanut butter reaches that perfect creamy texture, transfer it into mason jars or another airtight container. I like to put mine right back into the container the peanuts came in.
It can be kept at room temperature in a dark place for a short time, but because there are no preservatives, the shelf life is limited. If you won’t use it within a month, it’s best to store it in the refrigerator to prevent the oils from going rancid. Read this article for more info.
In our house, this has never been an issue. A batch rarely lasts more than a week or two.
How to Use Your Peanut Butter
There are so many ways to enjoy a homemade batch of peanut butter.
- Spread on toast
- Stirred into oatmeal
- Added to smoothies
- Used in baking
It also works beautifully in recipes that call for a lot of peanut butter. The flavor is deeper and more peanut-forward than most grocery store options. DELICIOUS.
You can even branch out into other nut butters like homemade almond butter or cashew butter using the same method.
A Simple Kitchen Rhythm
Making your own peanut butter is one of those small kitchen rhythms that feels empowering. It doesn’t require special equipment beyond a food processor, and it doesn’t take much time.
Just a food processor, and peanuts.
Final Thoughts
It’s comforting to know exactly what’s in your food. No added sugars, no unnecessary ingredients—just real peanuts turned into a creamy, nourishing spread.
This easy peanut butter recipe is one of those simple things that can quietly become a staple in your home. It’s affordable, flexible, and satisfying to make.
Homemade Peanut Butter
Equipment
- food processor
Ingredients
- cocktail peanuts
Instructions
- Blend peanuts in food processor until creamy. This will take a few minutes, so be patient.
- Optional: blend in honey or other sweetener to taste.
- Store in a cool, dark place for up to one month, or refrigerate for up to 3 months.